Tools:

  • Scissors
  • Sandpaper
  • Utility Knife
  • Cleaning Rag/Old Sock
  • Paintbrush

Supplies & Materials:

  • Wooden Sled
  • Kilz Primer
  • Hi-Gloss Red Paint (or choice of color)
  • Wood Filler (paintable/stainable)

Before picture of sled

Decorative Sled

If you can find an older Christmas Sled, the better. The newer ones tend to be made out of lighter wood and easily damaged.

This one was given to me with other Christmas ornaments. I decided that it would look better if it was spruced up and given a more "realistic" sled look.

This one will be hung on our front door for the holiday season.

Materials & Supplies

Supplies

I usually do not add pictures of the materials, but I thought it would be a nice gesture to show what kind of fancy tools and supplies I use to create the projects. (notice I use an old "holey" sock as my cleaning rag)

Always make sure to buy quality paint! If you purchase cheaper brand name paint, you will get a cheap look.....I have years of knowledge about this one! Most of the supplies can be found around the house, but if you don't happen to have these, you can always improvise with your own tools.

Clean Sled

Step 1

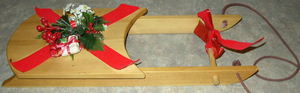
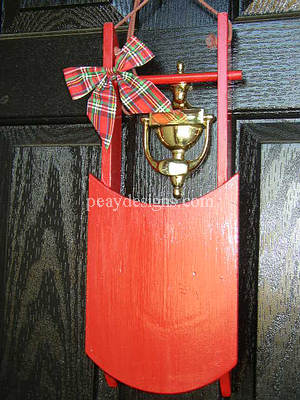
Start by removing any ribbons, ornaments or decorations that came with the sled. If it didn't come with any, well that's even better! I left the original rope on to give it character.

This sled has seen better days, with the ribbon removed and ornaments taken off, you can still see what was on it originally.

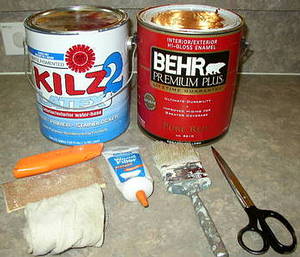
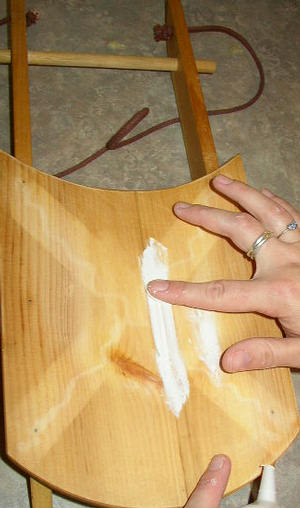
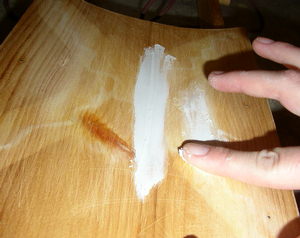
With your utility knife (or scissors) scrape off the hot glue until it is completely removed. If there is some glue that just won't come off, you can use coarse sandpaper to remove the rest.

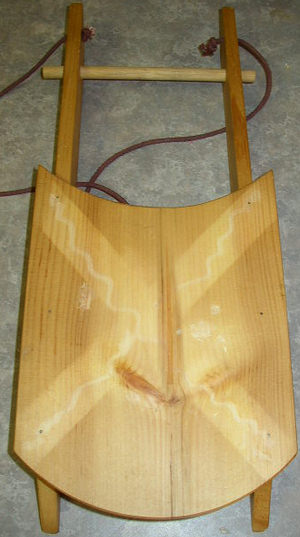
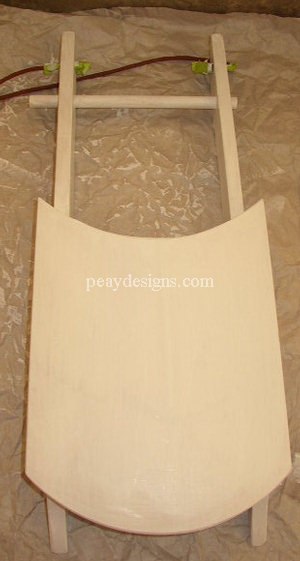
Make sure to sand the complete wooden sled completely to "rough" it up for priming. This sled happens to have a light poly varnish on it. It will all have to be removed.

Wipe the sled with a damp rag/sock to remove dirt, dust and oil build-up.

Fill in those cracks and dents!

Step 2

Sometimes even the older wooden sleds get dented and dinged. To make sure we get a nice smooth look, just take a bit of the wood filler (make sure it is the paintable/stainable kind or else you will be left with an area that cannot be painted) and lightly fill the holes/dents/dings.

Once the wood filler is dry (usually after an hour), sand it until it evens out or feels smooth to the touch.

On my particular sled, there was a wide crack right in the middle of it, so I had to apply quite a bit of wood filler to patch it up.


Reapply filler again if neccessary

Step 2a

This is a close up of how to apply the wood filler in cracks. Notice how I use my finger to put it on......you can also use a putty knife if you don't like to get your hands dirty.


I like Elmer's Wood Filler

Step 2b

You can't go wrong with Elmer's Carpenter Wood Filler! As noted before: Make sure it says stainable or paintable on it or else you will be left with areas that cannot be painted on.

This wood filler comes in a handy squeeze tube that allows for flexibility.


Primed and ready to paint!

Step 3

Here is the sled with 2 coats of the Kilz primer applied. Usually it takes anywhere from 1 to 2 hours to completely dry.

Remember to cover all cords/ropes and thread with painter's tape. This prevents the cord from being painted (this only applies if you cannot remove the cord from sled).

After the primer has dried completely, apply the first coat of red paint lightly and allow to dry. After the first coat is dry, you will apply at least 2-3 more light coats of red as above. This prevents the gloss paint from "gooping" and "running". It's better to be patient and take your time with this, rather than try to rush it and have a big red mess on your hands.

After the red paint have been applied and allowed to dry thoroughly, spray 2 light coats of an all weather polyurethane to protect the wood from the elements. It will also help with the storage of it.

Remove the painter's tape from your cord and you're ready to hang your sled up!

A Red Sled finally! I always wanted one!!

Finale

And here is the finished product! What a truly wonderful transformation this sled went through! With just a handful of materials, we were able to change the sled from old & dusty decoration to a hip and chic one!

Makes a perfect addition for your front door entrance.

Another great idea for this project is to apply a flat red paint and scuff up the edges with sandpaper to make it look like its been used. To prevent the wood from the weather elements, make sure you coat it with an all weather polyurethane. I prefer the spray on kind rather than the one from the can.

Hope you enjoy this project! I sure did=)

To ask questions or have comments about this project, please email us at: projects@peaydesigns.com. If you have tried this project (as shown above) please let us know! Send pictures to show how yours turned out!!

2003© Peay Designs


<< Previous Contact us: info@peaydesigns.com Next >>